
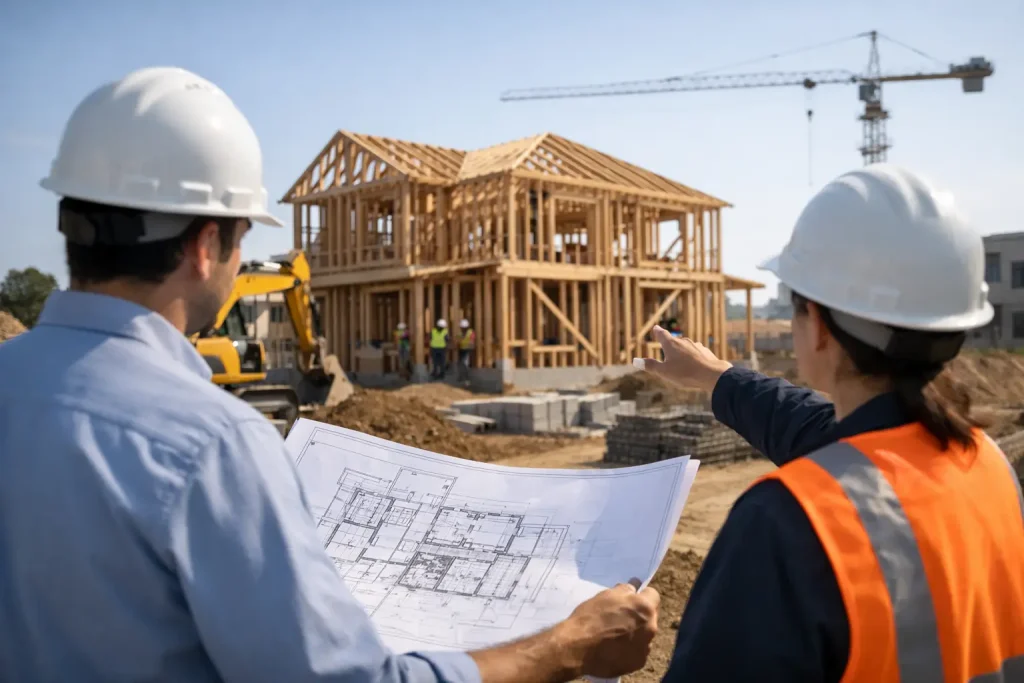
A ground-up project starts long before concrete is poured. For a homeowner replacing an aging house, an investor developing a property, or a commercial manager adding usable space, the ground up construction process requires early decisions that affect cost, schedule, permitting, and long-term performance. The right plan turns a vacant lot or cleared site into a safe, code-compliant building. The wrong plan can create expensive changes after work is already underway.
In Washington, DC, Prince George’s County, and surrounding Maryland communities, local zoning rules, utility requirements, site conditions, and permit reviews all shape the path forward. A qualified general contractor helps coordinate these moving parts so construction progresses in the right order and the finished property meets its intended use.
Start With the Site, Scope, and Budget
Every successful project begins by confirming what can realistically be built on the property. Before finalizing a design, the project team should review lot dimensions, setbacks, easements, topography, drainage, utility access, zoning restrictions, and any applicable homeowner association requirements. A site that appears ready to build may still need grading, tree review, soil work, utility upgrades, or stormwater controls.
The owner’s scope should also be clear early. Is the goal a custom home, an addition that functions as a separate unit, a retail build-out, a multifamily improvement, or a replacement structure? The intended use affects occupancy classification, fire protection requirements, accessibility considerations, structural design, and mechanical systems.
Budget planning needs the same level of attention. Construction costs include more than labor and materials. Owners should account for design services, engineering, surveys, permits, utility connections, site preparation, inspections, financing costs, and a contingency for conditions that cannot be confirmed until excavation begins. A lower initial estimate is not always the better choice if important requirements have been excluded.
Design and Preconstruction Set the Direction
During preconstruction, the owner, designer, engineer, and contractor translate the project goals into buildable documents. Architectural plans establish layout, finishes, elevations, and room functions. Structural drawings address foundations, framing, beams, roof loads, and other safety-critical elements. Mechanical, electrical, and plumbing plans identify how the building will be heated, cooled, powered, supplied with water, and drained.
This is the best time to resolve details that can become costly in the field. Window sizes, ceiling heights, appliance locations, lighting plans, accessibility needs, exterior materials, and storage requirements should be reviewed before materials are ordered. Changes are still possible later, but they often affect completed work, lead times, and inspection schedules.
A dependable general contractor also develops a realistic construction sequence, identifies long-lead items, obtains subcontractor pricing, and reviews the documents for gaps. For example, custom windows, electrical equipment, specialty tile, cabinets, and HVAC components may require early selections. Waiting until framing is complete to make those decisions can delay the entire project.
Permits and Approvals Come Before Construction
Permitting is not a formality. It is the local government’s review of whether proposed work meets building, zoning, safety, and land-use requirements. Depending on the project location and scope, approvals may involve building permits, trade permits, grading permits, right-of-way permits, environmental review, or utility coordination.
The approval timeline depends on the jurisdiction and the completeness of the submitted plans. Corrections from a plan reviewer are common and should be handled carefully. A response that addresses only part of a comment can create another review cycle. Clear drawings, complete supporting documents, and accurate coordination between design professionals reduce avoidable delays.
Work should not begin simply because plans are nearly complete or materials have arrived. Starting without required permits can result in stop-work orders, fines, rework, and complications when the property is sold, refinanced, or insured. Licensed and insured contractors understand that compliance protects both the owner and the project.
The Ground Up Construction Process Moves to the Site
Once approvals are in place, field work begins with site mobilization and preparation. This may include fencing, erosion controls, temporary power, demolition of an existing structure, clearing, grading, and layout. The layout establishes the building’s position on the lot so the foundation is placed according to the approved plans and required setbacks.
Excavation, Footings, and Foundation Work
Excavation creates space for footings, foundation walls, crawl spaces, basements, or slab-on-grade construction. Soil conditions matter at this stage. If unsuitable soil, excess groundwater, buried debris, or unexpected utilities are found, the team may need engineering guidance before proceeding.
Footings distribute the building load into the ground. Foundation walls, piers, slabs, reinforcing steel, waterproofing, drainage systems, and sump components are then installed as required by the design. Inspections are typically scheduled before concrete is placed or before foundation areas are concealed. Proper drainage and waterproofing deserve close attention because correcting water intrusion after the building is finished is far more disruptive.
Framing and the Building Envelope
After the foundation has cured and passed required inspections, framing gives the building its shape. Floors, walls, roof trusses or rafters, sheathing, stairs, and structural connections are installed according to approved plans. This stage makes the project feel tangible, but it is also when the team must verify dimensions for windows, doors, cabinetry, mechanical equipment, and other components that depend on accurate openings.
The next priority is drying in the structure. Roofing, exterior sheathing, flashing, windows, exterior doors, weather-resistant barriers, and siding or masonry work create the building envelope. A well-built envelope manages rain, air, and moisture while supporting energy efficiency and interior comfort. Material choices vary by budget and appearance, but installation quality is just as important as the product selected.
Rough-In Systems and Required Inspections
Once the structure is protected from the weather, licensed trade professionals install rough plumbing, electrical wiring, HVAC ductwork and equipment connections, low-voltage wiring, gas piping where applicable, and fire protection systems. These systems must work together in limited wall and ceiling spaces. Coordination is essential because a duct route, beam, plumbing stack, or electrical panel location can affect other trades.
Rough-in inspections occur before insulation and drywall cover the work. Inspectors verify code requirements such as wire protection, outlet placement, circuit capacity, plumbing venting, pipe support, combustion air, duct sizing, and safety clearances. Passing inspections is not just a project milestone. It confirms that critical systems can be safely concealed and completed.
Some projects require adjustments after inspection. That is normal. The responsible approach is to correct the issue, document the work, and schedule reinspection rather than treating a failed inspection as something to work around.
Insulation, Finishes, and Final Details
After rough-in approval, insulation is installed to meet energy requirements and support sound control where needed. Drywall follows, then interior finishes begin to transform the structure into usable space. This stage includes painting, flooring, interior doors, trim, cabinets, countertops, tile, fixtures, appliances, and finish electrical and plumbing work.
Finishes should be installed in a coordinated order. Flooring can be damaged if installed too early. Cabinet measurements should be confirmed before countertops are fabricated. Specialty finishes may need additional cure time or careful protection while other work continues. A project manager helps keep these dependencies organized and gives the owner clear information about selections, delivery dates, and change requests.
Quality control is especially valuable near the end of the project. Small details such as paint touch-ups, door alignment, caulk joints, fixture operation, drainage slopes, and hardware installation affect how the building looks and performs every day. They should not be rushed simply to meet a target completion date.
Final Inspections, Closeout, and Occupancy
The final phase includes completion of permit inspections, correction of any remaining punch-list items, final cleaning, and collection of closeout documents. Depending on the project, owners may receive warranties, product manuals, inspection records, final approvals, and information on operating new systems.
For commercial projects and certain residential work, a certificate of occupancy or equivalent approval may be required before the space can be legally used. The contractor should confirm this requirement early and track the final steps closely. A building may appear complete, yet still need documentation or a final inspection before occupancy.
Capitol Area Services Inc. approaches ground-up work with the same practical focus used for renovations, repairs, and restoration projects: define the scope, follow the approved plan, coordinate qualified trades, and protect the owner’s investment through compliant workmanship.
The best next step is to begin with a site and project review before committing to a final budget or construction date. Early answers about the property, approvals, and design requirements give you a stronger foundation for every decision that follows.